
Overview
Bundling JavaScript applications takes time and can be complicated. A single bundling process doesn’t take a lot of time, but in your development process, the bundling processes add up and they can add a significant delay to your development pipeline.
On top of that, bundling a JavaScript application usually requires you to write a configuration file. If you bundle a JavaScript application using webpack, you need to write webpack.config.js. It’s a significant cognitive overhead.
That’s where esbuild comes in. Esbuild is a fast and simple JavaScript bundler written in Go.
In this article, you’ll learn how to use esbuild to bundle JavaScript applications. You’ll explore common use cases, from bundling TypeScript , React, image files, and CSS files to serving the bundling process as a server { 将打包过程作为服务器提供服务 }.
Installing esbuild
First, install the bundler using npm:
|
|
Then you can verify the installation by invoking esbuild:
|
|
If you don’t want to install esbuild globally, you can do that as well:
|
|
But you have to invoke esbuild with a full path:
|
|
Bundling TypeScript with esbuild
The first task you’re going to accomplish using esbuild is bundling a TypeScript file. Create a file named input_typescript.ts and add the following code to it:
|
|
You can bundle the TypeScript code via CLI:
|
|
Then, check the content of the bundled file like so:
|
|
The esbuild command accepts input_typescript.ts as the argument. We’ll refer to this argument as the entry point, because it’s where the application starts.
Then, provide the outfile option as a way to define the output file. If you don’t provide this option, esbuild will send the result to stdout. The loader option is the one that you use to load the TypeScript file extension. You can omit this option, however, because esbuild can decide which loader to use based on the file extension.
With the bundle option, esbuild will inline all dependencies into the output file. Let’s look at a demo to see the difference.
Suppose you have a file named main.ts with the content as follows:
|
|
The main.ts file imports SayHello from library.ts which has the content as below:
|
|
If you don’t use the bundle option, esbuild will just import the dependency in the result:
|
|
But if you used the bundle option, esbuild would inline the content of the library in the result:
|
|
With the bundle option, you pack all your code into one file. In other words, two files become one file.
Bundling React with esbuild
Integrating React library into your project is a complicated venture. It even warrants the creation of a Create React App project . If you want to use webpack to add React into your project, you have to endure { 忍受 } the writing process of a complicated webpack.config.js .
But with esbuild, it’s a simple process.
First, install the React library using npm:
|
|
Then create a JavaScript file called App.js. Add the following code to the file:
|
|
Create an HTML file called index.html so React can render your application into the div with an ID root. Add the following code to the file:
|
|
In the HTML file, we are using AppBundle.js. This is the name of the bundled JavaScript file.
Now, bundle App.js to AppBundle.js:
|
|
You’ve learned all the options in the previous section. You use the bundle option because, well, you want to bundle the JavaScript file. Then, give the output file the name you want using the outfile option.
The last option, loader, is not actually optional. Tell esbuild to use the JSX loader for files with the .js extension, because JSX syntax is inside App.js. If you don’t use the JSX loader, esbuild will throw an error. You can omit the loader option if the extension of the input file is .jsx, not .js. So if you name the JavaScript file App.jsx, then you can omit the loader option.
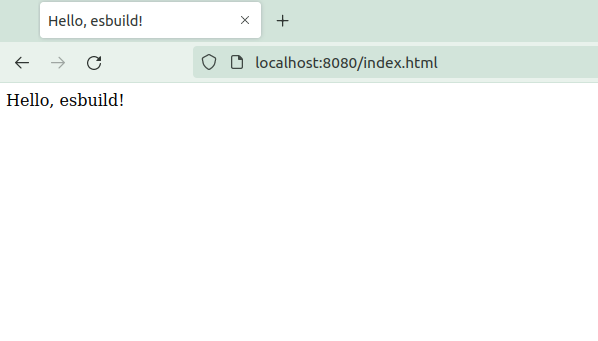
Now that you have AppBundle.js, let’s open index.html to check whether your bundling process works or not. You must open index.html using the http protocol, not the file protocol.
Then, you can serve the HTML file using http-server:
|
|
Finally, open http://localhost:8080/index.html . You should see the screen below:
Using the build API
While you can bundle your JavaScript file with CLI, you also have an option to use the build API .
Suppose you want to bundle input_typescript.ts into output.js. This is the command you would use:
|
|
Let’s try the build API. Write a JavaScript file called build.js and add the following code:
|
|
Import the esbuild library and use the build method from it. The argument is an object that has keys and values similar to the options in the esbuild command.
Then you can execute the bundling process with Node.js:
|
|
You can treat the build file as a configuration file. It’s like webpack.config.js, but for esbuild.
Bundling CSS with esbuild
Let’s try bundling something else, such as CSS files. Create a CSS file named color.css and add the following code to it:
|
|
Then, create another CSS file that imports the CSS file above. Name it style.css and add the following code to it:
|
|
To bundle these two CSS files, you can use esbuild as shown below:
|
|
The content of out.css will be the combination of the two CSS files:
|
|
Now, you can include only this one file in your HTML file.
You can also minify the CSS file using the minify option:
|
|
The content of the CSS file will be compact, as shown below:
|
|
As you can see, the bundler even changed the way you specify the color. The input file uses the rgb syntax, but the output file uses hexadecimal code, which is more compact.
Bundling images
You can also bundle images with esbuild. You have two options for bundling images: the first is to load the image as an external file in the JavaScript file, and the second is to embed the image as a Base64-encoded data URL in a JavaScript file.
Let’s look at the difference. First, put one JPG file and one PNG file into the project directory. You need two images with different extensions because you want to load both images in different ways. Name the PNG image image.png and the JPG image image.jpg.
Create an HTML file named images.html and add the following content:
|
|
Then, you need to create a JavaScript file. Name it input_image.js and add the following code:
|
|
Next, load the image using the import statement inside the JavaScript file. Unlike bundling CSS files, you don’t bundle images directly, but bundle images by bundling the JavaScript files that refer to the images.
Now, bundle the JavaScript files:
|
|
Notice that you used two loaders. The .png extension uses the dataurl loader and the .jpg extension uses the file loader. Instead of image-UKQOKISI.jpg, you will get a different name.
If you peek inside out_image.js, you’ll see the following:
|
|
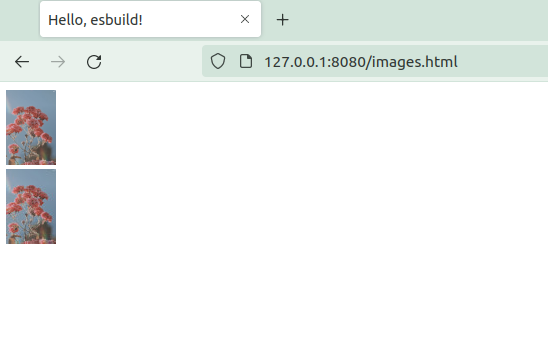
As you can see, the first image uses a Based64-encoded data URL format. The second image uses the file path format. For the second image, you also have an external file called image-UKQOKISI.jpg.
You can check the images by opening images.html:
|
|
Open http://localhost:8080/images.html and you would get the following screen:
Using Plugin
Esbuild is not a complete solution for bundling. It has default supports for React, CSS, and images, but it doesn’t support SASS. If you want to bundle SASS files, you need to install an esbuild plugin. The list of the esbuild plugins can be found here .
There are a couple of plugins that bundle SASS files. In this tutorial, you’ll use esbuild-plugin-sass. Install the plugin using npm like so:
|
|
Let’s create an SCSS file named style.scss. Add the following content to it:
|
|
To use the esbuild-plugin-sass plugin, you need to use the build API. Create a file called sass_build.js and add the following content:
|
|
Notice that you use the plugin using the plugins key. The entry is the SCSS file, but you can also fill the entry with the JavaScript file, which imports the SCSS file. The output is the CSS file.
Execute this build file:
|
|
You can check the result by opening the bundle.css file:
|
|
Watch Mode
It’s not fun to execute the bundling process every time you modify the input file. There should be a way to bundle the input files automatically. For this case, esbuild has the watch mode.
Create a file called watch_build.js and add the following content:
|
|
The input_typescript.ts file is the same as the previous example. This is the content of the file:
|
|
Execute the build file like so:
|
|
The process hangs up. Check the content of output.js:
|
|
While the build process is still alive, change the content of input_typescript.ts to the content shown below:
|
|
Finally, check the content of output.js again:
|
|
The output file is updated automatically. watch watches the file system so esbuild can bundle the input files when it detects that the file changes.
Serve mode
There is another way to bundle files automatically called serve mode. It means that you launch a server to serve { 提供 } the output file. If someone requests the output file from the browser, the server will bundle the input files automatically if the files have been changed.
Let’s create an HTML file called index_ts.html and add the following code to it:
|
|
The output file is output.js, and the user requests it indirectly by accessing index_ts.html. The input file is the same as before, input_typescript.ts. The content of the file is as follows:
|
|
This is how you bundle the file using the serve mode:
|
|
The serve option is used to define the server and the port. The servedir option defines the directory the server serves.
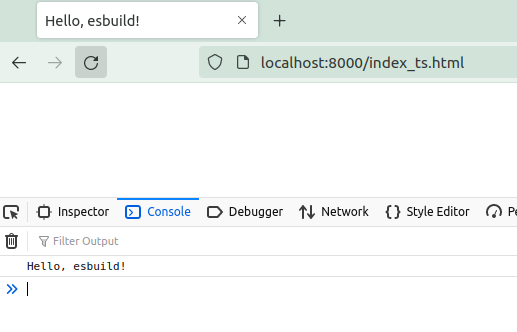
Now, open http://127.0.0.1/8000/index_ts.html and check the console:
Modify input_typescript.ts into the following code:
|
|
Now, refresh the browser or open http://127.0.0.1/8000/index_ts.html again. You will see the following screen:
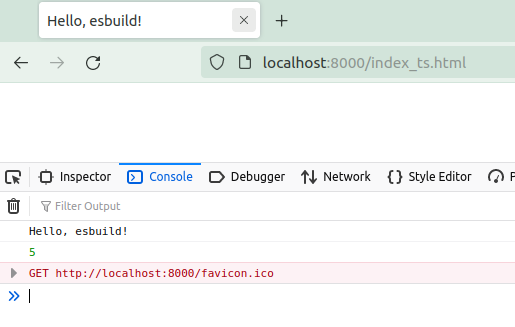
As you can see, the bundling process happened automatically.
Conclusion
In this article, you’ve learned how to use esbuild to bundle TypeScript, React, CSS, image files, and SCSS files. You used esbuild tool via CLI and the build API. You executed esbuild with different options according to your needs.
This article only scratches the surface of esbuild { 本文仅涉及 esbuild 的皮毛 }. There are many sides of esbuild that we haven’t covered, such as using sourcemap, injecting functions, and naming the assets. Please check the documentation to learn more. The code for this article is available on this GitHub repository .